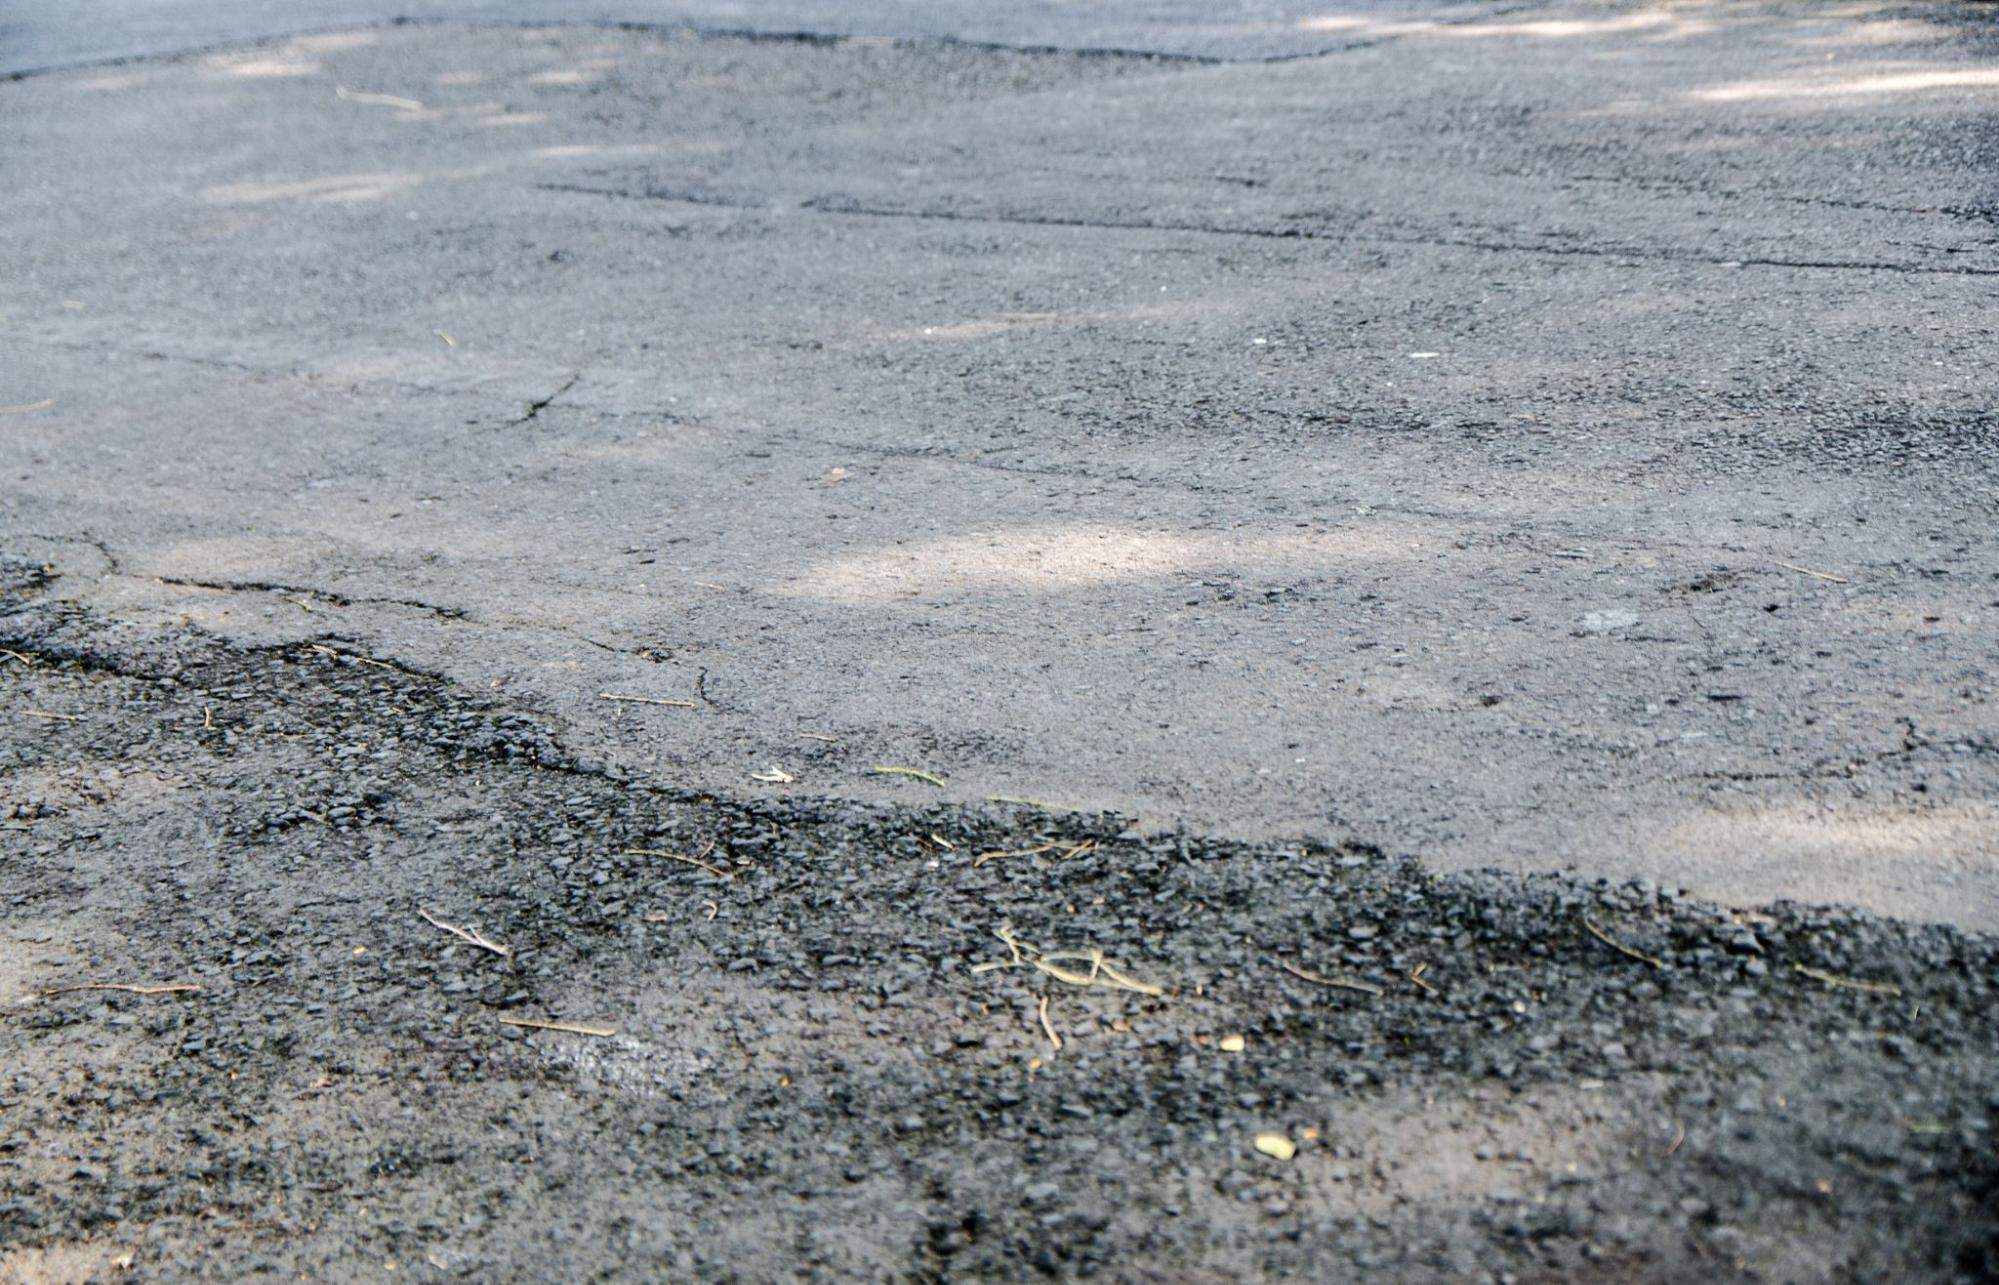
What Your Driveway Is Actually Trying to Tell You
Your driveway spent the winter under ice, salt, and freeze-thaw cycles, and Ontario winters don’t hold back. By the time April arrives and the snow melts, most homeowners see the damage for the first time. A crack here, a rough patch there. The instinct is to ignore it until it gets worse.
That instinct is expensive.
Asphalt is a layered system. What you see on the surface is the final expression of what’s happening underneath, in the base layer, the sub-base, and the soil below. A surface crack that looks minor may be telling you the structural foundation beneath has shifted, settled, or started to fail. Catching that signal early is the difference between a sealcoating job and a full driveway replacement.
This guide walks you through exactly what to look for and what each sign actually means for your property.
The 4 Stages of Asphalt Deterioration
Understanding where your driveway sits on the deterioration curve changes everything about how you respond to it.
Stage 1: Surface Oxidation. Freshly laid asphalt is a deep charcoal black. As UV exposure, rain, and traffic wear on the binder, the surface begins to grey and become brittle. This is normal aging, and it happens gradually. At this stage, a professional sealcoating application can reset the clock and add years of protection.
Stage 2: Surface Cracking. Hairline cracks appear. These are the entry points for water. Once water penetrates below the surface layer, freeze-thaw cycles do the structural work, expanding cracks, undermining the base, and accelerating failure. Crack filling at this stage is a relatively low-cost, high-impact intervention.
Stage 3: Structural Cracking and Deformation. Wider cracks, alligator cracking (the web-like pattern that resembles reptile scales), and surface depressions appear. This indicates base layer compromise. Repairs at this stage require patching or partial resurfacing, which is more involved but still far less costly than full replacement.
Stage 4: Failure. Potholes form. Edges crumble. Large sections of asphalt shift or sink. At this point, a patch-over approach is a temporary fix at best. Full driveway removal and repaving is often the only lasting solution.
Most homeowners come to us somewhere between Stage 2 and Stage 3. The goal of this guide is to help you catch the signs at Stage 1 or 2, before the damage becomes structural.
Crack Types: Not All Damage Looks the Same
This is where a lot of homeowners, and even some contractors, get it wrong. Not all cracks mean the same thing, and treating them the same way leads to wasted money or missed problems.
Longitudinal Cracks. Running parallel to the direction of paving. Usually caused by joint failure or edge stress. These are typically addressed with crack filling and, if caught early, sealcoating.
Transverse Cracks. Running perpendicular to the paving direction. Often a sign of temperature-related stress or material shrinkage. Again, crack filling is typically the right early-stage repair.
Edge Cracking. Along the perimeter of the driveway, where asphalt meets the lawn or gravel shoulder. This happens when the driveway lacks structural support at its edges, often from tree roots, soil erosion, or inadequate base compaction during original installation.
Alligator (Fatigue) Cracking. The most serious surface signal. This interconnected web of cracks across a broader area typically means the base layer has failed, from water infiltration, excess load, or poor initial construction. Sealcoating alone will not fix alligator cracking. This typically requires removal and repaving of the affected section.
Reflection Cracking. If your driveway was paved over an existing surface that had cracks, those cracks will eventually mirror through the new layer above. This is more common in driveways with a history of repeated overlays.
How to Spot a Pothole Before It Forms
Potholes don’t appear overnight. They follow a predictable sequence that starts with a crack.
Water enters the crack. In Ontario, temperatures regularly cycle above and below freezing throughout late fall, winter, and early spring. That water freezes, expands, and forces the crack wider. When temperatures rise again, the ice melts and leaves a void beneath the surface. Traffic loads then collapse the weakened surface layer into that void. A pothole forms.
The warning sign is a surface depression or slight bowl shape that precedes the actual hole. Walk your driveway after a heavy rain and watch for standing water that doesn’t drain. Any low spot where water pools consistently is telling you the sub-surface structure in that area is compromised.
Addressing a pothole repair in Richmond Hill, Markham, or any part of Ontario is significantly simpler and less expensive when caught at this pre-pothole stage. Waiting until the hole is visible costs more in materials and time. If water has been sitting in that area over multiple winters, the surrounding base may be compromised beyond what a simple patch can address.
Surface Signals You Shouldn’t Ignore
Beyond cracks and potholes, there are subtler signs that your asphalt is under stress.
Raveling is the gradual loosening of aggregate (the small stones embedded in the asphalt surface). If you notice small pebbles scattering across the driveway surface, particularly after winter, the binder holding them in place has degraded. Raveling accelerates water infiltration and reduces skid resistance.
Rutting refers to permanent surface deformation following the track lines of vehicle tires. Shallow rutting in a newly paved driveway often indicates the asphalt mix was laid too thin, or the base wasn’t compacted properly. Deeper rutting in an older driveway typically means the sub-base has weakened.
Heaving or upheaval, where sections of driveway have pushed upward, is almost always caused by tree root pressure or frost heave. This requires a different approach than standard crack repair.
Edge separation, where the perimeter of the driveway has pulled away from the surrounding curb, lawn border, or garage threshold, is worth addressing quickly. Left unchecked, water channels into that gap with every rain and accelerates base erosion.
When to DIY vs. When to Call a Pro
There are consumer-grade crack filler products available at hardware stores, and they have a place. For a single hairline crack on a driveway in otherwise sound condition, a quality pourable filler can provide a short-term seal.
But there are limits to what a filler can do, and where those limits are matters.
If a crack is wider than half an inch, if it’s accompanied by surrounding surface deformation, if alligator cracking covers more than a few square feet, or if a depression has formed near a crack, the problem is structural, not cosmetic. Applying sealcoating or DIY filler over a compromised base seals moisture in as effectively as it keeps moisture out, and can accelerate the damage below.
A professional assessment doesn’t cost anything upfront. Kyle Gryshchenko, who founded Action Paving Inc. and built the company from the ground up since 2019, has seen countless cases where homeowners spent money on the wrong repair first. Not because they weren’t diligent, but because surface-level damage can look similar whether the base is fine or failing. The only way to know for sure is to evaluate the full picture: crack pattern, drainage, surface condition, and age of the installation.
If you’re weighing whether your driveway needs a repair, a resurfacing, or a full replacement, a professional assessment is the starting point, not the last resort.
The Counterintuitive Truth About Driveway Timing
Here’s something most asphalt companies won’t tell you: the best time to sealcoat is not right after you notice a problem. It’s before you do.
Sealcoating is a preventive treatment, not a repair. Once oxidation and cracking have progressed past Stage 1, sealcoating alone can’t restore structural integrity; it can only slow further deterioration. If you wait until the damage is visible to the naked eye and obvious to walk across, you’ve likely already moved into Stage 2 or 3.
The ideal sealcoating window for Ontario driveways is every 3 to 5 years, depending on traffic exposure, drainage, sun exposure, and the quality of the original installation. Driveways installed in high-traffic zones (like a driveway that doubles as turnaround space or handles delivery vehicles) may need attention closer to the 3-year mark.
Routine maintenance costs a fraction of repair work. And repair work costs a fraction of replacement. The math isn’t subtle.